Smart Electrician Timer Manual: A Comprehensive Guide
This manual details various Smart Electrician timers, from basic plug-in models to advanced Astro timers, covering installation, programming, and troubleshooting for efficient lighting control.
Understanding Smart Electrician Timers
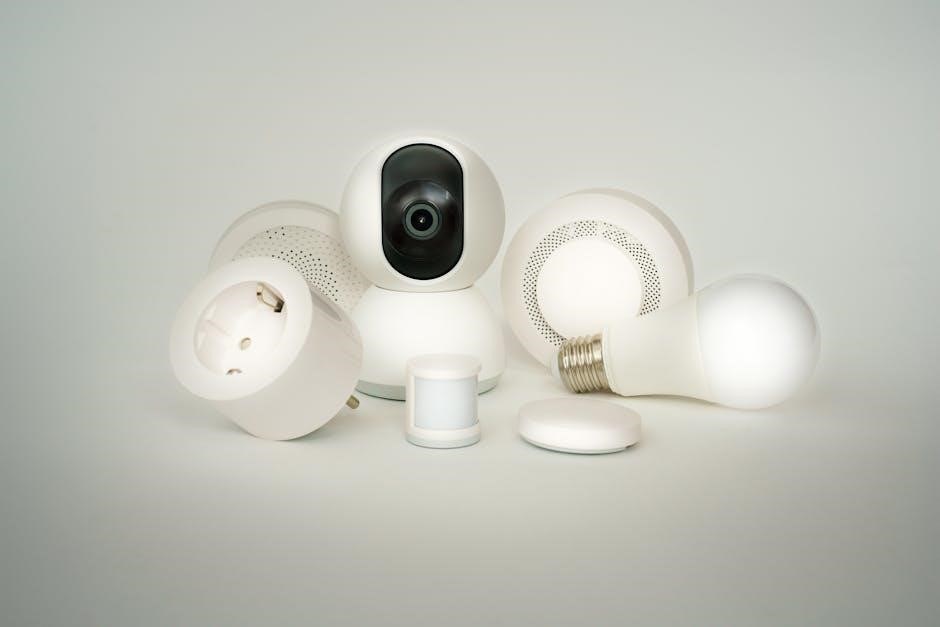
Smart Electrician timers offer a convenient and cost-effective way to automate your home’s lighting and appliance control. These devices range from simple mechanical timers to sophisticated digital and Astro timers, each designed for specific needs. They enhance home security by simulating occupancy and reduce energy consumption by preventing unnecessary usage.

Understanding the different types – 24-hour, plug-in, and wall-mounted – is crucial for selecting the right timer. Many models, like the Performax Basic, focus on ease of use, while others, such as the Astro Timer, provide advanced features like dusk-to-dawn operation. Proper selection ensures optimal performance and longevity.
Types of Smart Electrician Timers Available
Smart Electrician offers a diverse range of timers to suit various applications. Mechanical 24-hour timers, like the outdoor lighting model, provide simple dial-based scheduling. Digital timers offer greater precision and programming flexibility, with some being “no-neutral wire” compatible for older homes.

Plug-in timers, such as the Performax Basic, are ideal for lamps and appliances, offering easy installation. Astro timers automatically adjust schedules based on sunset and sunrise times. Wall-mounted options require direct wiring, often preferred for security systems. Choosing depends on your needs and electrical setup.
Digital vs. Mechanical Timers: A Comparison
Mechanical timers are generally simpler and more affordable, relying on a physical dial to set on/off times. They’re suitable for basic scheduling needs but lack precision. Digital timers, conversely, offer precise programming, multiple schedules, and features like random operation.
While mechanical timers work well with most bulbs, some older models may cause LED flickering. Digital timers often handle LED loads better. Installation is easier with plug-in timers, but wall-mounted digital timers may require an electrician. Consider your technical skill and desired features when choosing.
Smart Electrician 24-Hour Mechanical Outdoor Lighting Timer: Overview
The Smart Electrician 24-Hour Mechanical Outdoor Lighting Timer provides a straightforward solution for automating exterior lights. Featuring two outlets and a simple dial control, it’s ideal for managing both indoor and outdoor lighting. This timer supports a dusk-to-dawn cycle, automatically turning lights on at sunset and off at sunrise.
It’s compatible with standard home plugs, offering easy setup. Its durable construction makes it suitable for outdoor use, enhancing home security and convenience. This model is a cost-effective way to improve energy efficiency.
Performax Basic Indoor Plug-in Timer: Features and Benefits
The Performax Basic Indoor Plug-in Timer is designed for simple, effective control of household appliances and lighting. This timer allows users to accurately manage lamps, seasonal decorations, and various appliances, leading to significant energy savings. By automating on/off cycles, it reduces unnecessary energy consumption and potential waste.
Its plug-in design ensures easy installation – no wiring is required! This model is perfect for those seeking a user-friendly solution to automate their home, offering convenience and cost reduction.
Smart Electrician Astro Timer: Advanced Functionality
The Smart Electrician Astro Timer offers sophisticated control, automatically adjusting on/off times based on sunset and sunrise. This eliminates the need for manual reprogramming throughout the year, providing truly “set it and forget it” operation. However, be warned – programming can be complex!
This timer is ideal for large home security systems and applications requiring precise, long-term control without constant monitoring. Direct field wiring is necessary, often requiring professional electrician assistance. Despite the complexity, the Astro Timer delivers unparalleled automation and convenience;
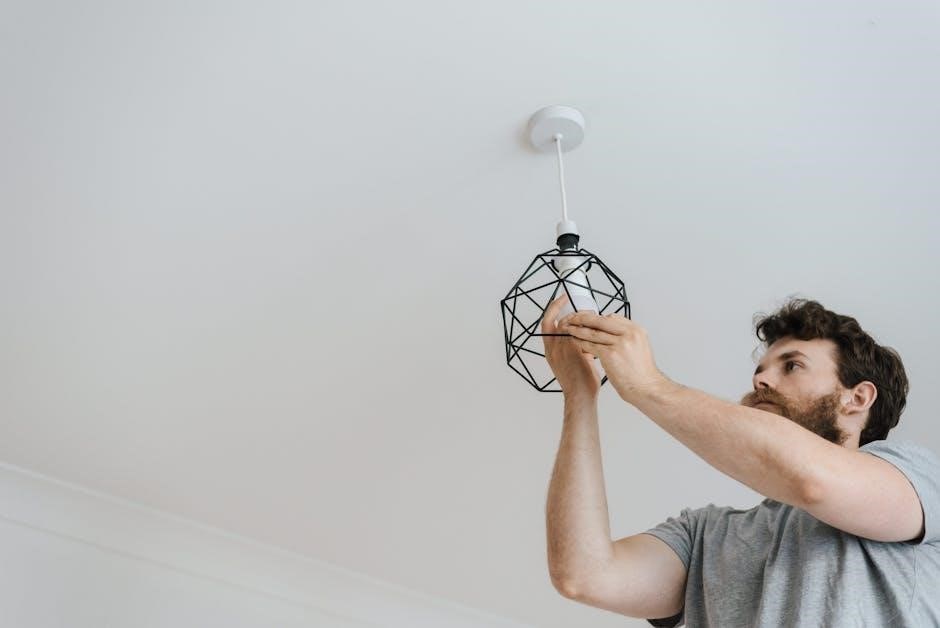
Installation Considerations
Proper installation is crucial for safe and reliable operation. Always disconnect power at the breaker before beginning any wiring. Older homes may lack a neutral wire; in such cases, opt for “no-neutral” compatible digital timers or traditional mechanical models. Direct field wiring, as required by some timers, necessitates professional electrician expertise.
Ensure the timer’s wattage rating exceeds the total load of connected devices. Carefully review wiring requirements, and prioritize safety throughout the process. YouTube videos can be invaluable resources for visual guidance during installation.
Safety Precautions During Installation
Prioritize safety by always disconnecting power at the circuit breaker before commencing any installation work. Verify the power is off using a non-contact voltage tester. If you are uncomfortable with electrical wiring, consult a qualified electrician. Incorrect wiring can create fire hazards or damage the timer and connected devices.
Never install a timer in a damp or wet location unless it is specifically rated for outdoor use. Ensure all connections are secure and properly insulated. Follow all local electrical codes and regulations during installation.
Wiring Requirements: Neutral Wire vs. No-Neutral Wire
Modern smart timers often require a neutral wire for proper operation, providing a stable power source. However, older homes may lack a neutral wire in the switch box. If this is the case, you have options. Look for digital timers specifically designed to be “no-neutral” compatible, or consider using a traditional mechanical timer.
Mechanical timers generally don’t require a neutral wire. Confirm your wiring configuration before purchasing a timer to ensure compatibility and avoid installation issues.
Programming Your Smart Electrician Timer
Programming your Smart Electrician timer allows for customized control of lights and appliances. Begin by setting the current time and date, a crucial first step for accurate scheduling. Next, create on/off schedules tailored to your needs – define specific times for devices to activate or deactivate.
Many models feature simple dial controls, while advanced Astro timers require more complex setup. Numerous instructional videos are available online to guide you through the process, as included manuals can sometimes be sparse.
Setting the Current Time and Date
Accurate time and date settings are fundamental for proper timer operation. Most Smart Electrician timers feature buttons or dials to adjust these parameters. Consult your specific model’s instructions, as the process varies. Digital timers typically allow direct input of hours, minutes, and date, while mechanical timers may require rotating dials.
Ensure the correct AM/PM designation is selected. Incorrect settings will lead to inaccurate scheduling. Remember to double-check your entries before finalizing, as precise timing is key to automated control.
Creating On/Off Schedules
Programming on/off schedules is the core function of your Smart Electrician timer. Digital models offer granular control, allowing you to set multiple on/off events daily or on specific days of the week. Mechanical timers utilize peg-based systems; position the pegs to represent desired on times.
Consider your lighting needs – security, convenience, or energy savings – when designing schedules. Utilize the timer’s memory to store complex routines. YouTube videos can be helpful for visual guidance, as instructions can be sparse.
Compatibility with Different Bulb Types
Smart Electrician timers generally work with various bulb types, but compatibility nuances exist. LED bulbs require timers specifically rated for low-wattage loads; older mechanical timers may cause flickering or premature failure. Incandescent and CFL bulbs are typically compatible with most timers, though always check the wattage rating.
Ensure the timer’s load capacity exceeds the combined wattage of connected bulbs. Using an incompatible timer can damage both the timer and the bulbs, potentially creating a safety hazard.
Using Timers with LED Bulbs
LED bulbs present unique compatibility challenges with timers due to their low wattage draw. Older mechanical timers often struggle with these minimal loads, potentially causing flickering or bulb failure. When using Smart Electrician timers with LEDs, prioritize digital models specifically designed for LED compatibility or those with low-wattage load handling capabilities.
Always verify the timer’s specifications to ensure it meets or exceeds the total wattage of the connected LED bulbs. This prevents damage and ensures reliable operation, maximizing energy savings and bulb lifespan.
Compatibility with Incandescent and CFL Bulbs
Smart Electrician timers generally exhibit broader compatibility with traditional incandescent and CFL bulbs compared to LEDs. However, it’s crucial to adhere to the timer’s maximum wattage rating. Exceeding this limit can damage the timer and pose a fire hazard.
Mechanical timers typically function reliably with these bulb types, but digital timers offer more precise control and scheduling options. Always check the timer’s packaging or manual to confirm its suitability for the specific bulb wattage and type you intend to use, ensuring safe and efficient operation.
Troubleshooting Common Issues
If your Smart Electrician timer isn’t functioning as expected, begin by verifying the power supply and ensuring correct programming. A common issue is the timer failing to turn on or off; double-check the schedule and current time/date settings.
Display problems often resolve with a simple reset – consult the manual for specific instructions. For unresponsive timers, consider battery backup functionality. Numerous instructional videos are available online to guide you through programming and troubleshooting steps. If issues persist, contacting customer support is recommended.
Timer Not Turning On/Off
When a Smart Electrician timer fails to switch on or off, the first step is to meticulously review the programmed schedule. Ensure the correct on/off times are set and that the timer isn’t in a manual override mode. Verify the current time and date are accurate, as incorrect settings can disrupt operation.
Also, check the load connected to the timer; some older mechanical timers struggle with low-wattage LED bulbs; If problems continue, a reset might be necessary, and consulting online videos can provide helpful guidance.
Display Issues and Resetting the Timer
If the Smart Electrician timer’s display is blank or showing garbled characters, begin by checking the battery backup. A depleted battery can cause display malfunctions. If the display remains problematic, a full reset is often the solution. Locate the reset button – typically a small recessed button – and press it using a pin or similar tool.

Be aware that resetting will erase all programmed schedules, requiring you to re-enter them. Numerous instructional videos are available online to assist with the reprogramming process, given the often sparse included instructions.
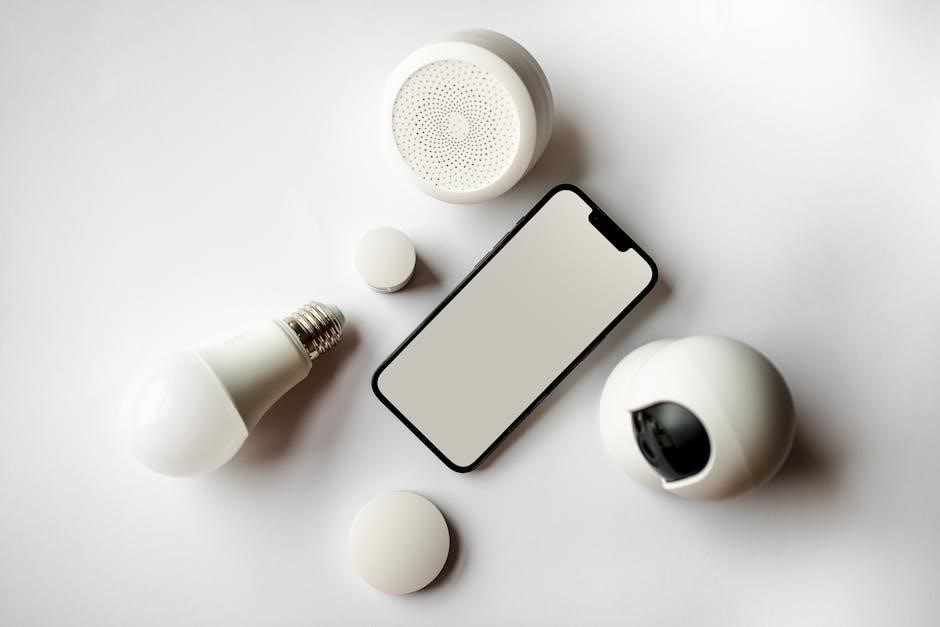
Smart Home Hub Integration
While many Smart Electrician timers, particularly the basic mechanical and plug-in models, do not natively integrate with smart home platforms (indicated by “na” for Smart Home Protocol), compatibility varies. More advanced models may offer integration, though specific details are often limited.
For timers that are compatible, setup typically involves connecting the timer through a compatible hub, such as those supporting Z-Wave or Zigbee. Setting up voice control, like Alexa or Google Assistant, then becomes possible through the hub’s interface, allowing hands-free operation.
Compatibility with Popular Smart Home Platforms
Currently, direct compatibility information for Smart Electrician timers with popular platforms like Amazon Alexa, Google Assistant, or Samsung SmartThings is limited. Many basic models lack the necessary connectivity features for direct integration. However, some users have reported success utilizing compatible smart home hubs as intermediaries.
These hubs bridge the gap, allowing control via voice commands or app-based scheduling. Checking the hub’s compatibility list is crucial before purchasing, as not all timers will function seamlessly. YouTube videos often provide user-generated guides for specific setups.
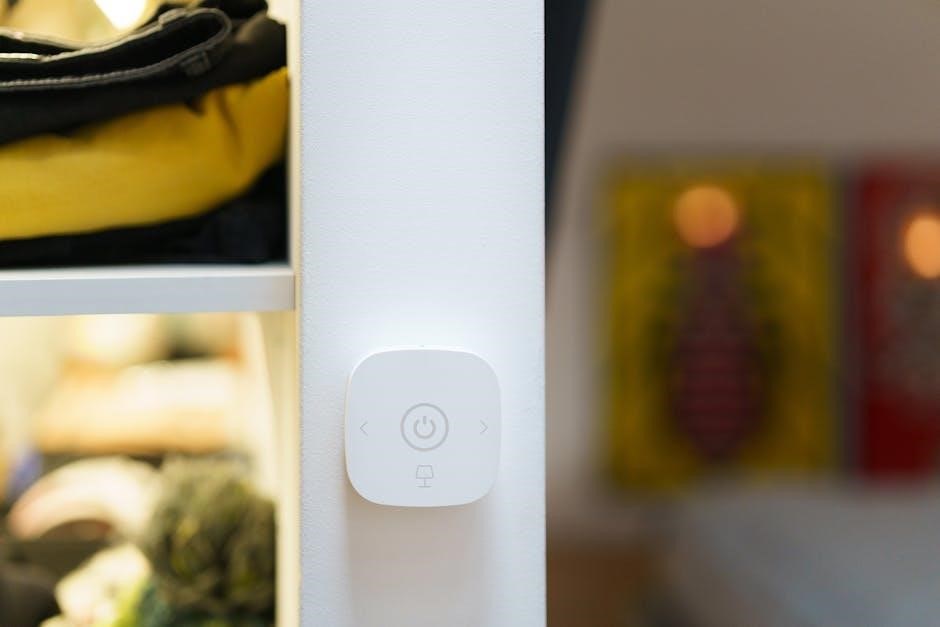
Setting Up Voice Control
Voice control functionality hinges on compatibility with a smart home hub, such as those supporting Amazon Alexa or Google Assistant. Once the Smart Electrician timer is connected through a compatible hub, setup typically involves enabling the timer’s skill or action within the hub’s app.
Follow the hub’s instructions to discover and link the timer. You can then assign voice commands – for example, “Alexa, turn on the outdoor lights” or “Hey Google, switch off the lamp.” Ensure clear naming conventions for easy voice recognition and control.
Durability and Environmental Considerations

Smart Electrician timers demonstrate varying levels of durability. Some models, like the Astro Timer, boast a robust polymer shell and battery backup, ideal for long-term, unattended operation and enhanced reliability. This construction provides resilience against typical wear and tear.
Consider the intended environment; timers are categorized for indoor or outdoor use. Outdoor timers require weather resistance, protecting against rain, humidity, and temperature fluctuations. Proper housing and sealing are crucial for longevity. Choosing the correct timer for its environment ensures optimal performance and lifespan.
Timer Shell Material and Protection
Smart Electrician timers utilize diverse shell materials, impacting their durability and suitability for different environments. Many feature robust plastic polymers, offering good impact resistance and protection against minor damage. The Astro Timer, specifically, is noted for its protective polymer shell, enhancing its longevity.
Protection levels vary. Indoor timers generally have basic enclosures, while outdoor models require weatherproofing. This includes sealed housings to prevent moisture ingress and UV-resistant materials to withstand sunlight exposure. The shell’s quality directly correlates to the timer’s ability to withstand environmental stressors.
Indoor vs. Outdoor Use and Weather Resistance
Smart Electrician timers are categorized for indoor or outdoor applications, dictating their weather resistance. Indoor timers, like the Performax Basic Plug-in Timer, lack substantial weather protection and should never be exposed to the elements.
Outdoor timers, such as the 24-Hour Mechanical Outdoor Lighting Timer, are designed with sealed enclosures to resist rain, snow, and humidity. UV-resistant materials prevent degradation from sunlight. However, even “weather-resistant” timers benefit from being sheltered under eaves or in protected locations for extended lifespan. Proper selection ensures reliable operation in its intended environment.
Battery Backup Functionality
Smart Electrician timers often include battery backup, safeguarding programmed settings during power outages. This feature is particularly valuable for security systems or critical lighting schedules. The Astro Timer and certain durable models boast this capability, ensuring continued operation even when mains power is interrupted.
Battery backup prevents time and schedule loss, automatically resuming operation upon power restoration. While backup batteries have a limited lifespan, they provide peace of mind. Regularly check and replace batteries as needed to maintain this essential functionality, preventing unexpected disruptions to your automated schedules.
Advanced Features: Dusk-to-Dawn Operation
Smart Electrician offers timers with built-in dusk-to-dawn functionality, automatically turning lights on at sunset and off at sunrise. This feature enhances security and convenience, eliminating the need for manual adjustments based on changing seasons. The 24-Hour Mechanical Outdoor Lighting Timer specifically includes this cycle, simplifying outdoor lighting control.
Dusk-to-dawn operation utilizes a light sensor to detect ambient light levels, triggering the timer accordingly. This is ideal for exterior lights, providing illumination when needed most. Ensure the sensor isn’t obstructed for optimal performance, offering a hands-free lighting solution.
Understanding Timer Specifications
Smart Electrician timers come with specific wattage ratings and load capacity, crucial for ensuring compatibility with connected devices. Exceeding these limits can damage the timer or the appliance. Always check the product label for maximum wattage allowed. UPC and model numbers (e.g., 852909006283) are vital for identification and accessing specific documentation.
Understanding these specifications ensures safe and efficient operation. The Performax Basic Indoor Plug-in Timer, for example, will have a defined wattage limit. Referencing these details prevents overloading and guarantees the timer functions as intended, prolonging its lifespan and maintaining safety standards.
Wattage Ratings and Load Capacity
Timer specifications prominently feature wattage ratings, indicating the maximum power draw the timer can safely handle; Load capacity defines the total wattage of devices connected. Exceeding these limits risks timer damage or malfunction, potentially creating a fire hazard. Always verify your appliance’s wattage before connecting it.
For LED bulbs, ensure the timer is specifically rated for low-wattage loads, as older mechanical timers may cause flickering or premature failure. The Smart Electrician Astro Timer, being more complex, will have precise wattage limitations detailed in its manual. Prioritize safety by adhering to these specifications.
UPC and Model Numbers for Identification
Identifying your Smart Electrician timer accurately is crucial for accessing specific documentation and support. The UPC (Universal Product Code), like 852909006283 for the Performax Basic Indoor Plug-in Timer, uniquely identifies the product for retail and inventory purposes. The model number further specifies the timer’s features and functionality.
These numbers are typically found on the timer’s packaging, the device itself, or in your purchase records. Having this information readily available streamlines troubleshooting, warranty claims, and locating instructional videos online. Accurate identification ensures you receive the correct assistance.
Resources and Support
Need help with your Smart Electrician timer? Numerous resources are available to assist you. Instructional videos on platforms like YouTube can visually guide you through programming and installation, especially helpful as included manuals can be sparse. For direct assistance, contacting customer support is recommended.
Many users report positive experiences with the brand, evidenced by 99.8% positive feedback and over 21,000 items sold. Online forums and communities dedicated to smart home technology can also provide valuable insights and troubleshooting tips from fellow users. Don’t hesitate to seek help!
Finding Instructional Videos
Visual learners will benefit from online instructional videos. Platforms like YouTube host numerous guides demonstrating the setup and programming of Smart Electrician timers. These videos are particularly useful for complex models like the Astro Timer, which some users find challenging to configure independently.
Search specifically for your timer’s model number to find the most relevant tutorials. Many videos cover basic functions, schedule creation, and troubleshooting common issues. These resources supplement the often-limited documentation included with the product, offering a clearer understanding of operation.
Contacting Customer Support
For personalized assistance, reaching out to Smart Electrician’s customer support is recommended. While online resources are helpful, direct support can resolve specific issues efficiently. Unfortunately, specific contact details weren’t readily available in the provided text, highlighting a potential area for improvement by the manufacturer.
Check the product packaging or the retailer’s website for contact information, including phone numbers or email addresses. Be prepared to provide your timer’s model number (e.g., UPC 852909006283) to expedite the support process and ensure accurate assistance with your particular device.