Lockey Digital Door Locks offer keyless convenience and enhanced security for homes, offices, and gates. Their innovative design combines keypad access with master and user codes for seamless functionality.
Overview of Lockey Digital Door Lock Systems
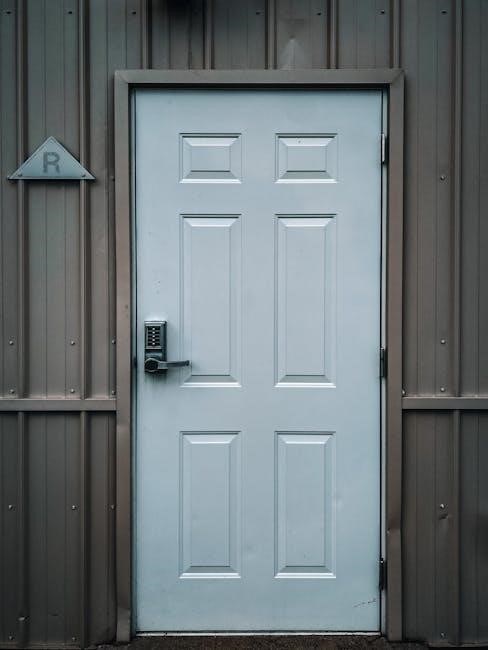
Lockey Digital Door Lock Systems provide a comprehensive solution for keyless access control, offering enhanced security and convenience. These systems are designed for various applications, including residential, commercial, and gate installations. Lockey locks feature mechanical keypads, electronic deadbolts, and lever handles, ensuring seamless operation. Models like the Lockey E910 and E930 offer advanced programming options, allowing users to set master codes, user codes, and temporary codes. The systems are compatible with different door types, including narrow stile, mortise, and chain-link gates. Lockey locks are known for their durability and ease of use, with features like auto-locking, keypad illumination, and adjustable delay times. They also support up to 6 user codes, making them ideal for shared access environments. With their robust design and flexible functionality, Lockey Digital Door Lock Systems are a reliable choice for modern security needs.
Why Choose a Digital Door Lock?
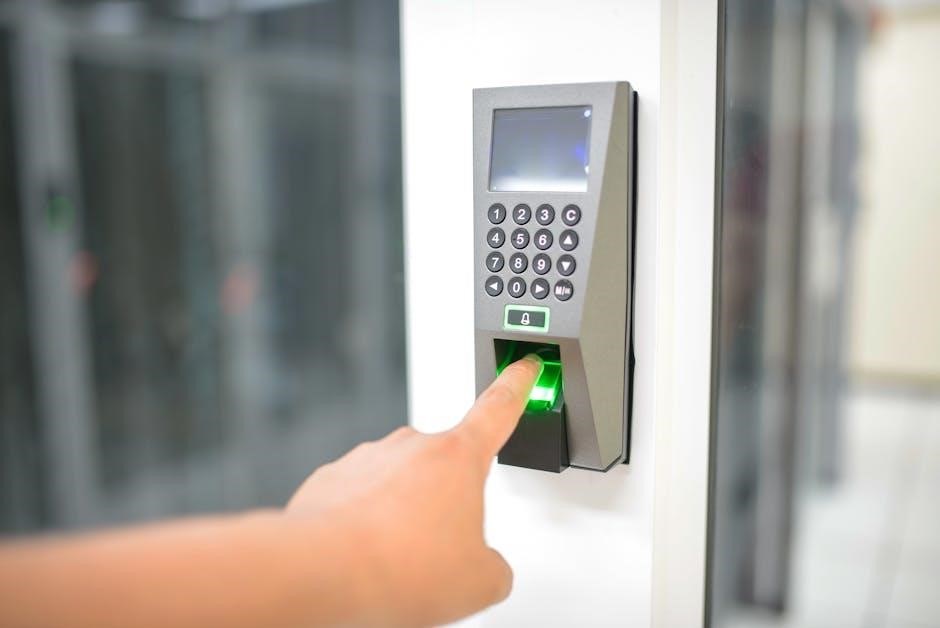
Digital door locks offer unmatched convenience, security, and flexibility compared to traditional locks. With a Lockey digital lock, you eliminate the need for physical keys, reducing the risk of key loss or unauthorized duplication. These locks provide keyless access control, ideal for homes, offices, and gated communities. They support multiple user codes, temporary codes, and master codes, ensuring controlled access for family, employees, or guests. Features like auto-locking, keypad illumination, and adjustable delay times enhance user experience. Digital locks are also tamper-resistant and require minimal maintenance. Their durability and weather-resistant designs make them suitable for various environments. Additionally, the ability to program and manage codes easily via the keypad or remote systems adds to their appeal. Upgrading to a digital door lock ensures a modern, secure, and hassle-free access solution for your property.
Installation Guide for Lockey Digital Door Lock
Installing a Lockey digital door lock is straightforward with the right tools and preparation. Follow step-by-step instructions for secure mounting, ensuring proper alignment and functionality for all door types.
Preparation and Tools Needed
Before installing your Lockey digital door lock, gather essential tools and materials. You will need a drill, screwdrivers (Phillips and flathead), Allen wrenches, a pencil for marking, and a measuring tape. Ensure your door is prepped with a 2 1/8-inch hole for the lock body. If your door isn’t prepped, use the provided template to mark the center of the latch on the edge. For surface-mounted models, align the spindle correctly based on the door’s handing. Check the backset, which is the distance between the cross bore and edge bore, ensuring it matches the adjustable latch (2-3/8″ or 2-3/4″). Organize all components, including the keypad, latch, mounting screws, and strike plate. Charge or install batteries as specified, typically using alkaline for reliability. Refer to the manual for specific model requirements. Proper preparation ensures a smooth and successful installation process. Always follow safety guidelines and manufacturer instructions to avoid damage or improper fitting.
Step-by-Step Installation Process
- Drill Pilot Holes: Use the provided template to mark the center of the latch on the door edge. Drill a 25mm hole to a depth of 85mm for the latch assembly.
- Insert Latch: Place the latch into the drilled hole, ensuring it aligns with the strike plate on the door frame. Secure it with screws.
- Mount Lock Body: Attach the lock body to the door, aligning it with the pre-drilled holes. Use the hex bolts to secure it firmly.
- Attach Keypad: Mount the keypad on the outside of the door, ensuring it connects to the lock body. Use screws to fasten it in place.
- Align Strike Plate: Position the strike plate on the door frame so it aligns with the latch bolt. Drill pilot holes and screw it into place.
- Connect Wiring (if applicable): For electronic models, connect the wires between the keypad and lock body, ensuring proper alignment and secure fastening.
- Test the Lock: Before closing the door, test the lock by entering the default code, turning the knob, or using the keypad to ensure proper functionality.
Follow these steps carefully to ensure a secure and proper installation of your Lockey digital door lock.
Programming and Configuration
Program your Lockey digital door lock by setting a master code and user codes. Use the keypad to enter codes, with LED feedback for successful or incorrect inputs. Follow the manual for detailed steps.
Setting Up the Master Code
The master code is the primary code used to program and configure your Lockey digital door lock. By default, the master code is set to 0000, but it is highly recommended to change it for security purposes. To set up the master code, ensure the lock is in programming mode. Press and hold the programming button until the LED flashes orange, indicating the system is ready to accept a new code. Enter your desired master code (4-10 digits) using the keypad, and confirm by pressing the programming button. The LED will flash green twice with two long beeps to confirm successful setup. Remember, the master code is used to create and manage user codes, so it should be kept secure. Always refer to the manual for detailed steps and ensure the code is changed during the initial setup to enhance security.
Creating and Managing User Codes
Lockey digital door locks allow you to create and manage multiple user codes for flexible access control. Up to 6 user codes can be stored, each ranging from 4 to 10 digits. To create a user code, enter the master code, followed by the desired user code, and confirm with the programming button. The system will confirm with green LED flashes and beeps for successful input. Codes can be deleted individually or all at once for enhanced security. Temporary or disposable codes are also supported for one-time access. If all user codes are deleted, the lock reverts to key-only operation. Ensure codes are unique and stored securely. Refer to the manual for step-by-step guidance on managing codes effectively. This feature ensures convenience and security, making it ideal for homes, offices, or shared spaces. Always test codes after programming to confirm functionality.

Troubleshooting Common Issues
Address latch alignment by adjusting the strike plate for smooth operation. For keypad responsiveness, clean the keypad and ensure proper battery installation. Refer to LED indicators and beeps for diagnostic guidance.
Resolving Latch Alignment Problems
Aligning the latch is crucial for proper lock function; First, ensure the strike plate is correctly positioned on the door frame. If the latch doesn’t engage smoothly, adjust the strike plate up, down, or side-to-side until it aligns perfectly with the latch bolt. Use the provided screws to secure it firmly. For doors with heavy use, check the hinges to ensure they aren’t causing the door to sag, which can misalign the latch. Clean any debris from the latch hole to prevent obstruction. If issues persist, consider repositioning the latch or consulting a professional. Proper alignment ensures reliable locking and longevity of the mechanism.
Fixing Keypad Responsiveness
If the keypad on your Lockey digital door lock is unresponsive, start by cleaning the keypad surface with a soft cloth to remove dirt or debris. Ensure the batteries are fresh, as low power can cause malfunctions. If issues persist, reset the system by pressing and holding the programming button for 5 seconds. This recalibrates the keypad and restores functionality. For deeper issues, refer to the manual for recalibrating the system or updating settings. If the problem remains unresolved, contact a professional locksmith or the manufacturer for assistance. Regular maintenance and proper care can prevent keypad responsiveness issues and ensure long-term reliability.